An Orbit automatic valve is a type of valve that is used to control the flow of water in a water system. It is usually installed in homes and businesses to control the water pressure. It is easy to install and maintain and can be used to regulate the water pressure in a home or business. In this guide, we will look at the steps involved in installing an orbit automatic valve.
Gathering the Tools and Materials
The first step in installing an orbit automatic valve is to gather the necessary tools and materials. You will need a drill, a screwdriver, a wrench, a pipe wrench, and a pipe cutter. If you're looking to buy an automatic valve then you may visit this website.
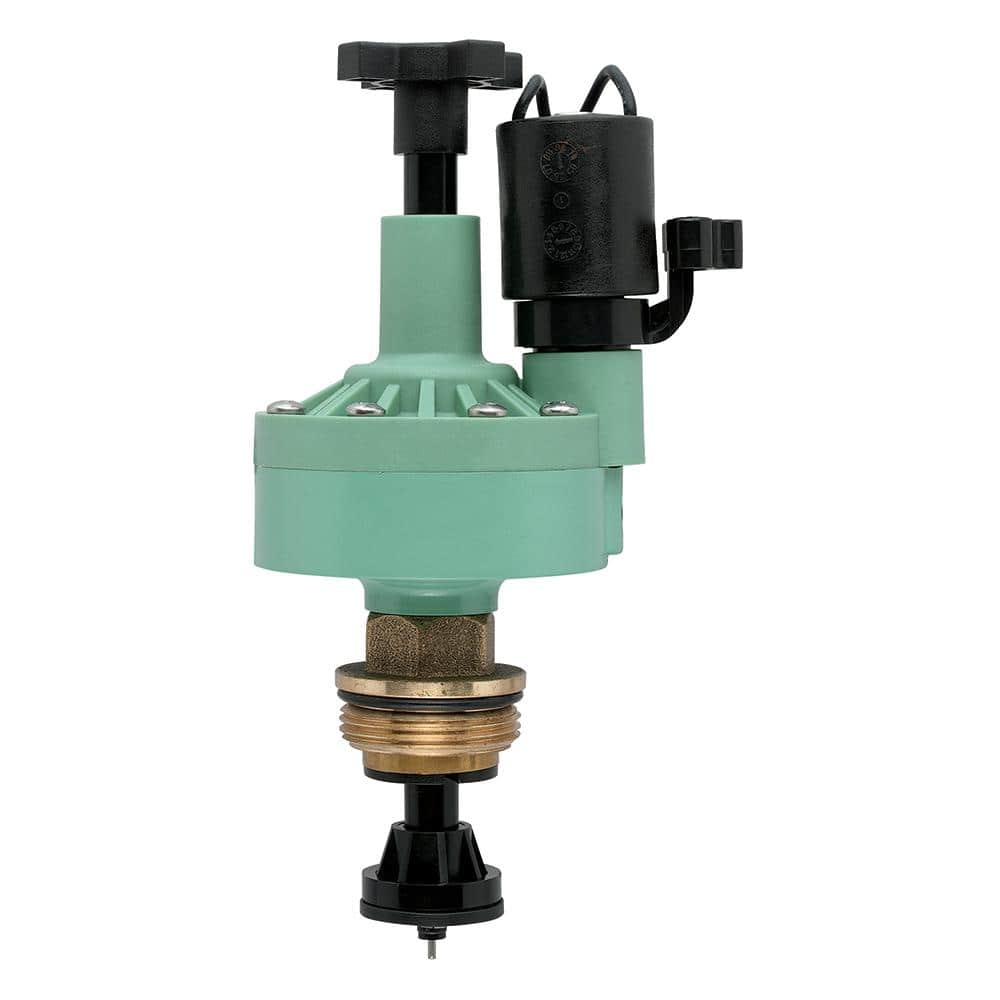
Image Source: Google
Preparing the Area
The next step is to prepare the area where the valve will be installed. This includes cleaning the area and making sure that there are no obstructions in the way. It is also important to ensure that the area is dry and free of debris.
Installing the Valve
Once the area is prepared, you can begin installing the valve. The first step is to attach the valve to the pipe. You will need to use a wrench and a screwdriver to secure the valve to the pipe. After the valve is attached, you can then attach the valve seat.
Testing the Valve
Once the valve is installed, you should test it to ensure that it is functioning properly. To do this, you can open the valve and make sure that the water is flowing correctly. You can also check the pressure of the water to ensure that it is within the acceptable range.